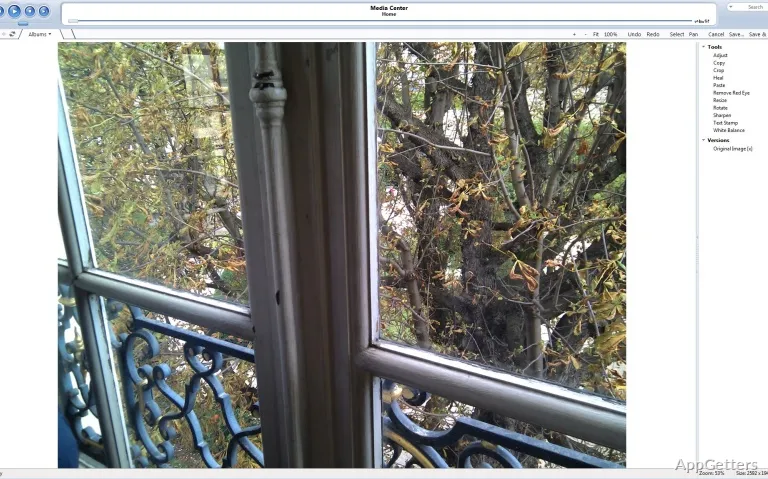
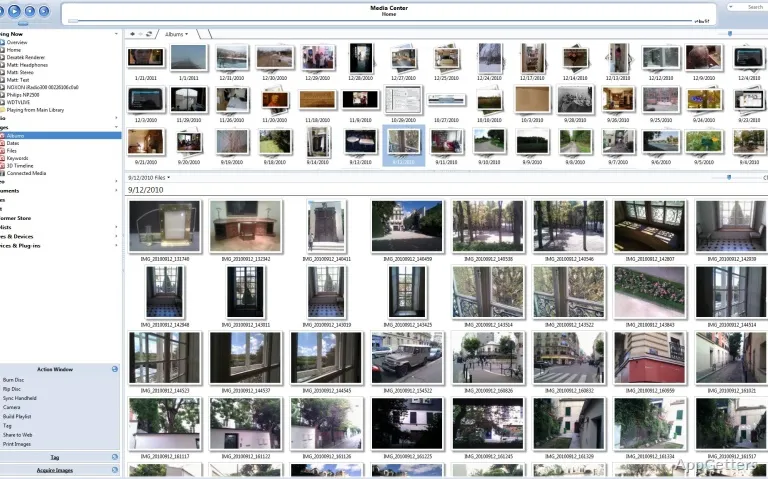
A large music folder can look organized in Windows until albums split apart, cover art disappears, or a DAC plays through the wrong audio path. JRiver Media Center for Windows is built for users who want one library for audio, video, images, television, playlists, playback zones, and home-theater control. It takes more setup than a basic player, but that setup is why serious media collections often end up there.
JRiver Media Center for Windows Starts With the Library
JRiver Media Center is a media management and playback program from JRiver. It is not a free lightweight player. The official download is offered as a trial, and continued use requires a license. That matters before setup begins, because this is closer to a full media library system than a quick app for opening one video file.
The first real decision is where the media library will live. JRiver catalogs files into its library database while the actual audio, video, image, and television files remain in their folders. If the source folders are messy, the library can import that mess. A short folder review before import can prevent album splits, duplicate entries, and confusing views later.
Users who only need a quick local video player may be happier with VLC Media Player. JRiver makes more sense when the same PC manages albums, movies, playlists, metadata, remote playback, and an audio system. It rewards careful setup. It can also feel heavy when the job is only to open one file.
Download, Trial, and License Checks
Before installing JRiver Media Center for Windows, compare the program name, platform, and version shown on the download card with the official JRiver download page. Avoid depending on version numbers copied from old software pages. Media software changes often enough that the installed About screen should be used when you need to confirm what is actually on the PC.
The trial route is useful because it lets the user test the library, audio output, remote features, and video playback before buying. Check the license choice on the official purchase screen if you plan to use JRiver on more than one operating system. Do not assume that every license type covers Windows, macOS, and Linux unless the purchase page says so for that license.
Continue only when the installer came from the official developer source, the supplied download card, or another trusted source you intentionally chose. If Windows security or another protection tool shows a warning for the installer or one of its components, check the source again before continuing. Avoid modified installers, cracked editions, serial key pages, and unknown mirror downloads.
After installation, start with one media folder rather than importing every drive at once. A small test library shows whether metadata, artwork, file paths, and audio output behave the way you need. Once that looks right, add larger folders in stages. The slower start helps avoid a long library cleanup after a rushed first import.
Import Problems That Usually Begin in the Folders
Album splitting is one of the first frustrations new users notice. It often comes from inconsistent tags, different album artist fields, disc numbers, or compilation handling. JRiver can edit and display metadata, but it cannot guess every collection perfectly. Fix a few sample albums first, then apply the same tagging logic to the larger library.
Cover art problems need the same careful pace. Some albums use embedded artwork, some use folder images, and some arrive with no useful image at all. If artwork appears in one view but not another, check where the image is stored and whether the files share the same album fields. Random artwork downloads can make a library harder to trust later.
Duplicate files can appear after users import both a main folder and a backup folder. JRiver will catalog what it sees. If two paths contain the same track, the library may show both. Keep backup drives outside watched media folders unless you really want backup copies to appear in the listening view.
Auto-import needs clear boundaries
Auto-import can watch folders and add new files as they arrive. That is useful for an active music or video collection, but the watched folders need boundaries. Do not point it at a whole user profile, download folder, or backup drive unless those locations are meant to become part of the media library.
Audio Output, DACs, and Volume Surprises
JRiver Media Center for Windows attracts many users because of its audio options. The program can be configured for different output devices and audio paths, including Windows audio modes and device-specific drivers when available. The right choice depends on the DAC, driver, speaker setup, and whether the user wants normal Windows mixing or more direct playback.
If sound comes from the wrong device, check JRiver’s audio output setting before reinstalling anything. Windows may have one default device, while JRiver may be pointed at another. USB DACs, HDMI receivers, Bluetooth headphones, and virtual audio devices can all appear separately. Pick the actual device you want inside JRiver, then test a familiar track.
Volume behavior deserves attention. A media-center PC connected to an amplifier should not be tested with unknown volume levels. Start low, especially when changing output modes, switching devices, or trying exclusive playback. The audio path may bypass some Windows mixer behavior, depending on the selected output method and driver.
For users who only need a compact local player with broad format handling, PotPlayer may be simpler. JRiver is better suited to a managed listening room, a tagged music library, or a PC that feeds more than one playback zone. That extra control is useful only when the system has been configured carefully.
Video, Television, and Theater View Setup
JRiver can handle video and television features, but a home-theater setup needs different thinking from a desktop music library. Screen resolution, audio output, remote control behavior, and library views all matter when the PC sits across the room. Theater View is useful in that environment because the interface is meant for larger screens and simpler navigation.
If a video plays with no sound, start with the selected audio device and the file’s audio format. A receiver, TV, or soundbar may accept some formats and reject others. Changing every setting at once makes the problem harder to find. Test one known file, one output device, and one display path before troubleshooting a whole movie folder.
Television features depend on the hardware and source available to the user. Do not assume that a fresh JRiver install automatically gives live TV or recording without the required tuner, signal source, and configuration. If TV matters, confirm the tuner path before organizing the rest of the home-theater library around it.
Users who want a server-style media setup may also compare JRiver with Plex or Emby Server. Those tools lean more toward client-server streaming. JRiver leans strongly into local library control, playback zones, and a full desktop media center.
Network Playback, Zones, and Remote Control
JRiver’s network features can be strong, but they are often where rushed setups become confusing. DLNA devices, remote control apps, shared libraries, and multiple zones all need the same basic condition: the PC, playback device, and network must see each other reliably. A weak Wi-Fi link can look like a software problem when the real issue is the route between devices.
Playback zones are useful when different rooms or devices need different output. They can also confuse users who expect every play button to use the same speaker. If music starts in the wrong room, check the active zone first. Then check the output device assigned to that zone. Reinstalling JRiver will not fix a zone that is simply pointed somewhere else.
Remote control setup should be tested close to the router before blaming the phone or tablet. Firewall prompts, network profile settings, and device discovery can affect whether a controller finds the PC. Keep the first test simple: one computer, one controller, one network, and one playback zone. Add more rooms after that basic path works.
A Careful First Setup for a Large Media Collection
A good JRiver setup starts with a small library, one audio device, and a few known files. Test one album with correct tags, one movie with known audio, and one image folder. Then check views, artwork, playback output, and remote behavior. Expanding the library before those basics are stable can turn a setup issue into a cataloging mess.
Before upgrading later, keep a copy of the installer or version details currently being used. If JRiver’s own backup or export options are available for the library or settings you rely on, use those instead of manually editing program folders. A media library is easier to protect when changes are made through supported app options.
JRiver Media Center for Windows fits users who want a managed media room, a serious music library, flexible output choices, and a database that can grow with the collection. It is less comfortable as a casual one-file player. The practical test is direct: import a small folder, play through the real DAC or TV path, check artwork and tags, then decide whether the full library belongs in JRiver.