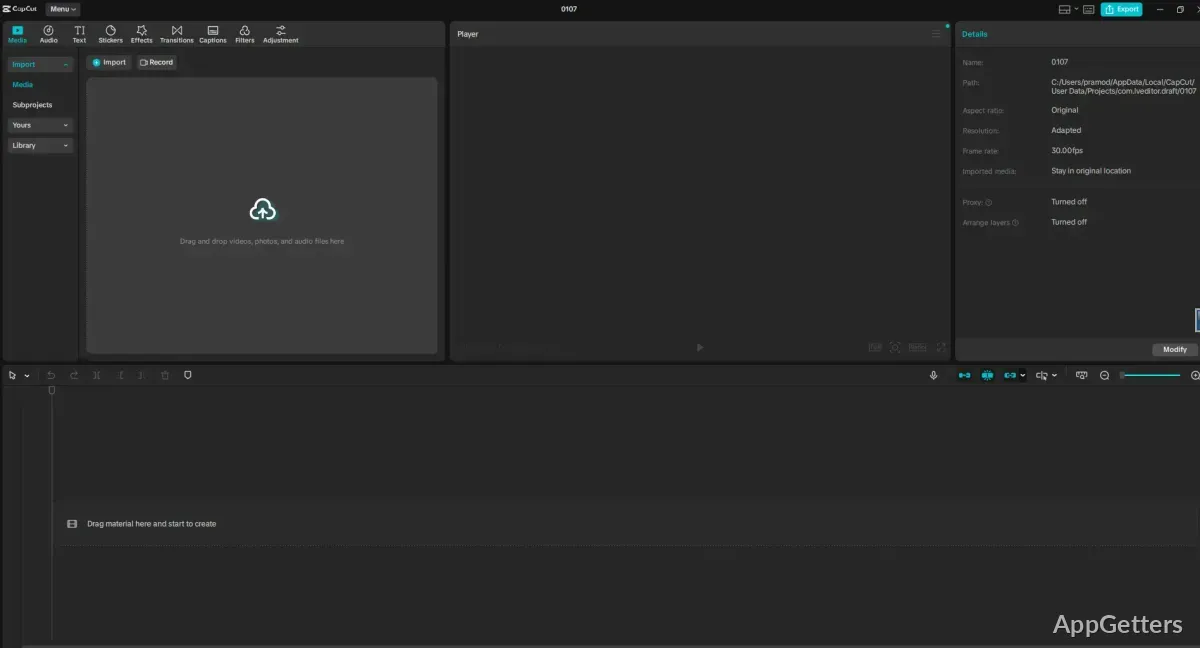
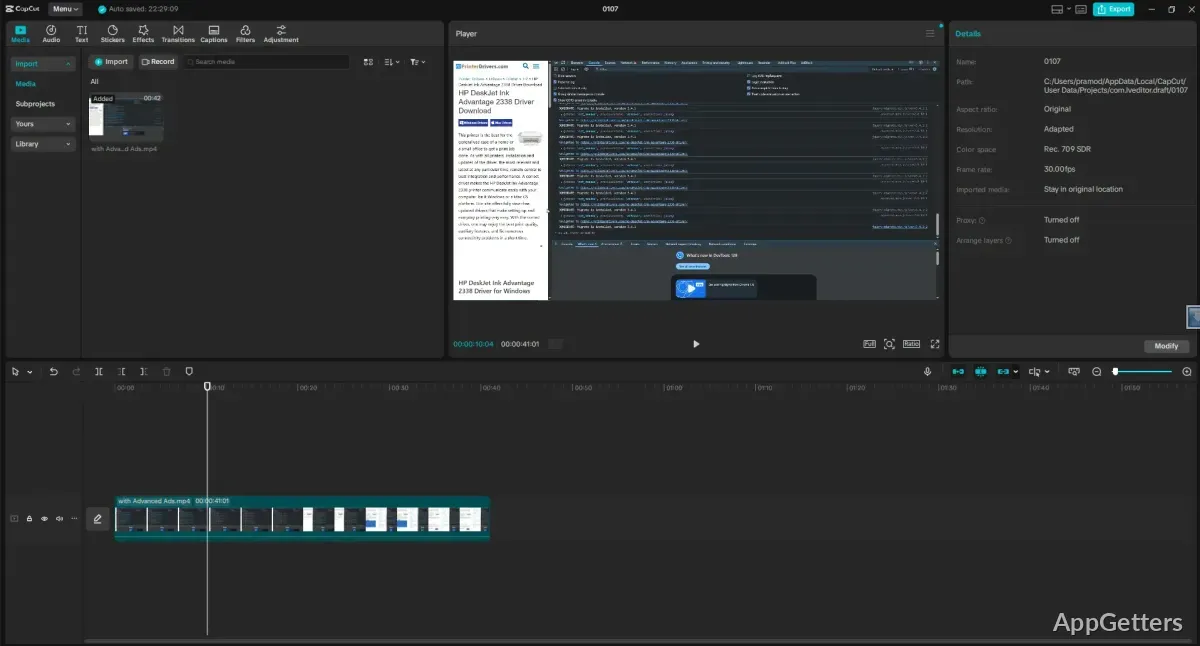
CapCut for Windows Screenshots
CapCut for Windows When Captions, Shorts, and Effects Need a Bigger Workspace
A vertical video can look finished on a phone, then fall apart when captions overlap faces, music peaks too loudly, or a crop hides the subject. CapCut for Windows gives that short-form editing workflow a desktop timeline, larger preview, folder access, and keyboard control for checking the details before export.
CapCut is a video editor from the CapCut team. It focuses on timeline editing, templates, captions, text, filters, transitions, background tools, audio adjustments, and AI-assisted editing features. The desktop version suits creators who already use CapCut on mobile but want more space for trimming, arranging, and reviewing video layers.
The main value is not only installing another editor. It is the ability to prepare platform-ready videos with fewer screen taps. A creator can import camera clips, add subtitles, adjust the frame for vertical viewing, review the audio, and export a draft from a Windows PC without moving every edit back to a phone.
Start with the Right CapCut Download Source
Use the official developer source or the supplied download card when you install the app. Continue only when the file came from the official developer source or another trusted source you intentionally chose. Avoid modified installers, cracked editions, serial key pages, and unknown mirror downloads.
CapCut for Windows is available for modern Windows PCs, and the Microsoft Store listing also shows Windows availability. Check the version shown on the download card and compare it with the app’s About or settings area after installation. Avoid depending on old version numbers copied from third-party software pages.
The free download does not mean every asset, AI feature, cloud option, or export-related feature is included for every account. Some items may depend on region, plan, account status, or the selected package. Review the label inside CapCut before building a client video, paid reel, or branded clip around a premium effect.
When the App Opens but Online Items Do Not Load
Templates, effects, fonts, stock items, and account features can require a stable internet connection. If the editor opens but online panels stay blank, test the connection in another app first. Then sign out and sign in again if account-based tools still fail. A restart may also refresh the desktop session after an update.
When Windows Shows a Setup Warning
Windows may show a security warning during setup. Check that the installer came from the official developer source before continuing. If another protection tool flags the file or one of its components, review the download source and file details carefully rather than changing protection settings just to finish the installation.
Editing Flow for Social Videos and Reels
CapCut works well when the project depends on fast visual decisions. You can split clips, move scenes, add text, test transitions, adjust speed, and resize for different social formats. This is useful for tutorials, talking-head clips, product videos, reaction edits, music-backed reels, and quick promotional posts.
Do not judge the full project from the first preview. A clip may look acceptable before captions, filters, stickers, and background changes are added. Review the timeline after every major layer. This habit can reduce export surprises, especially when the video will be posted in vertical format.
Captions Need Manual Review
Auto captions can save time, but they still need careful reading. Names, slang, fast speech, accents, and background music can create wrong words. After generating captions, play the full clip and correct each line. Also check line breaks so subtitles do not cover faces, products, hands, or screen instructions.
If subtitle editing becomes the main task, Subtitle Edit can be useful for deeper subtitle timing and text cleanup outside a simple social edit. Keep CapCut for the final visual layout when captions must match effects, cuts, and platform framing.
Templates Still Need Personal Checks
Templates can speed up a video, but they may not match every clip length, language, or brand style. Replace placeholder text, check music timing, and review every transition before export. A template that looks good in preview can still cut too early or hide important details in your own footage.
Export Choices Can Change the Final Look
CapCut for Windows should be tested with the final platform in mind. A video for YouTube Shorts, TikTok, Instagram Reels, or Facebook may need a different aspect ratio, length, or export setting. Check the preview after resizing because automatic framing can crop hands, captions, product labels, or screen recordings.
If a rendered video looks choppy, test a shorter export before changing the whole project. Lower the resolution or frame rate when the source clip does not need a heavier setting. Play the file locally before uploading because platform processing can make a fresh upload look worse for a short time.
Blurry Output After Upload
Blurry output may come from low source quality, aggressive platform compression, wrong project size, or a weak export choice. Start by checking the exported file on the PC. If the local file looks sharp, the problem may happen after upload. If the local file looks soft, adjust the project or export settings first.
Audio Too Loud or Too Low
Short videos often mix voice, music, effects, and imported clips. Listen with headphones and speakers before export. Reduce music when speech matters. Check the loudest part of the timeline, not only the first scene. A small level change can make captions and visuals feel more professional without adding another effect.
Performance Problems During Effects and AI Tools
CapCut for Windows can slow down when the timeline includes large clips, background removal, many overlays, HD assets, several text layers, or AI-assisted tools. Close other heavy apps before editing. Then test one short section of the project. This gives you a clear view of whether the slowdown comes from one effect or the whole timeline.
Move media files to local storage when possible. Editing from a slow external drive or unstable cloud folder can cause preview delays and missing-media confusion. Keep original clips untouched, and save a separate project copy before major timeline changes. Do not delete camera files just because the current preview opens.
Preview Lag Does Not Always Mean Export Failure
A stuttering preview can happen while the final export still plays correctly. Reduce preview quality when that option is available, remove unused effects, and avoid stacking heavy visual changes on every clip. Export a short sample to check the real result before rebuilding the entire edit.
Background Removal and Heavy Effects
Background removal works better with clear subject edges, steady lighting, and less motion near the face or hair. If the edge looks broken, try a simpler background, reduce movement, or use a less demanding effect. Heavy effects should be tested early, not after the whole edit is finished.
For creators who also record tutorials or screen demos before editing, ActivePresenter can fit the recording stage of the workflow. CapCut can then handle the short-form edit, captions, effects, music, and final social version.
Project Files, Media Folders, and Missing Clips
A CapCut project can depend on files stored in several folders. If clips are moved, renamed, deleted, or disconnected from an external drive, the project may not find them later. Keep raw clips, music, voice recordings, thumbnails, and finished exports in separate folders before a larger edit begins.
Cloud folders can be convenient, but they may sync slowly while large video files are still being edited. If a project behaves strangely, test from a local folder first. This can reduce delays when CapCut needs to read the same clip repeatedly during trimming, preview, and export.
Missing Media After Moving a Project
Missing media usually means the editor cannot reach the original file path. Reconnect the files through the app’s media prompt when available. If you are moving work between PCs, move the source videos and audio files with the project instead of sending only the project entry.
Large Projects Need Smaller Tests
A long edit with many effects should be tested in parts. Export a short section that includes captions, music, transitions, and the heaviest effect. If that sample plays correctly, continue. If it fails, the shorter test makes the cause easier to find.
Where CapCut Fits Beside Other Windows Editors
CapCut is a practical choice for quick social edits, captions, effects, and platform-ready video formats. It is less suited to deep color grading, advanced audio mixing, multicam editing, or long-form finishing. Users who need a larger post-production environment may compare DaVinci Resolve.
For quick template-style editing in a Microsoft-centered workflow, Clipchamp may also fit some users. CapCut makes more sense when the project depends on mobile-style effects, caption tools, social framing, and fast creative changes on a desktop timeline.
Finish the Edit with a Platform Check
The last pass in CapCut should match where the video will appear. Watch the export from beginning to end, confirm captions by ear, check the crop in the intended aspect ratio, and test loud sections of the audio. For short videos, these checks often matter more than adding another transition.
A steadier CapCut workflow comes from separating the creative edit from the final review. Build the cut first, add captions and effects second, export a small sample, then render the final file only after the sample looks right. That approach keeps the desktop edit focused on the platform-ready result.